BalkOfFame (talk | contribs) mNo edit summary |
No edit summary |
||
| (23 intermediate revisions by 8 users not shown) | |||
| Line 1: | Line 1: | ||
| + | {{PictureNeeded|Image for the deleted scenes: Giving Care, The Saw, Are You All Right? and Unseen Deleted Scene from "?".}} |
||
| ⚫ | |||
| − | |||
| − | |||
{{brclear}} |
{{brclear}} |
||
| + | {{Deuterocanon}} |
||
| ⚫ | |||
__TOC__ |
__TOC__ |
||
{{brclear}} |
{{brclear}} |
||
| − | |||
| − | |||
{{Sectionbox Deleted Scene |
{{Sectionbox Deleted Scene |
||
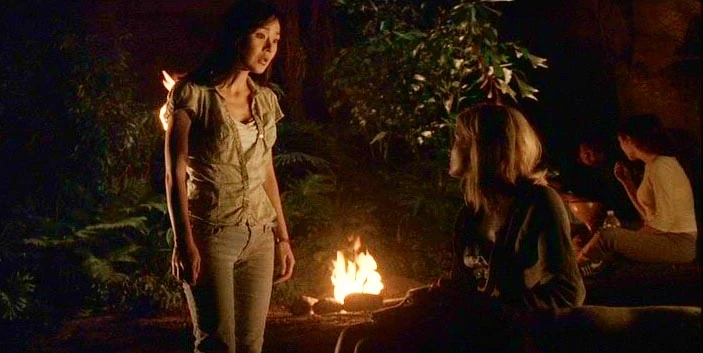
| title=Seeing Walt |
| title=Seeing Walt |
||
| Line 13: | Line 11: | ||
| episode={{ep|2x01}} |
| episode={{ep|2x01}} |
||
| characters=[[Shannon]] & [[Sun]] |
| characters=[[Shannon]] & [[Sun]] |
||
| − | | featured=Season 2 DVD and Blu |
+ | | featured=[[Lost: The Complete Second Season (DVD)|Season 2 DVD and Blu-ray]] |
| + | | length=1:19 |
||
| summary=Sun talks to Shannon about seeing Walt in the jungle. Shannon denies this, claiming she was "tired after Boone" but Sun continues to press Shannon for information on what Walt was trying to tell her. Shannon says Walt will be miles away from the Island, and that "they are the lucky ones while they wait". |
| summary=Sun talks to Shannon about seeing Walt in the jungle. Shannon denies this, claiming she was "tired after Boone" but Sun continues to press Shannon for information on what Walt was trying to tell her. Shannon says Walt will be miles away from the Island, and that "they are the lucky ones while they wait". |
||
}} |
}} |
||
| − | |||
| − | |||
{{Sectionbox Deleted Scene |
{{Sectionbox Deleted Scene |
||
| − | | title= |
+ | | title=Kate's Choice |
| s=2 |
| s=2 |
||
| − | | image= |
+ | | image=Kate's Choice.PNG |
| episode={{ep|2x01}} |
| episode={{ep|2x01}} |
||
| characters=[[Jack]] & [[Charlie]] |
| characters=[[Jack]] & [[Charlie]] |
||
| − | | featured=TV Guide DVD Season 2 Blu |
+ | | featured=[[Lost: The Complete Second Season (DVD)|TV Guide Bonus DVD and Season 2 Blu-ray]] |
| + | | length=0:35 |
||
| summary=Kate went out into the jungle by herself. Charlie reminds Jack that she asked permission, but even though Jack says she doesn't ask for anyone's permission, Charlie suggests that she may have wanted him (Jack) to tell her not to go. |
| summary=Kate went out into the jungle by herself. Charlie reminds Jack that she asked permission, but even though Jack says she doesn't ask for anyone's permission, Charlie suggests that she may have wanted him (Jack) to tell her not to go. |
||
}} |
}} |
||
| Line 32: | Line 30: | ||
| title=Good With Kids |
| title=Good With Kids |
||
| s=2 |
| s=2 |
||
| − | | image= |
+ | | image=Good With Kids.PNG |
| episode={{ep|2x01}} or {{ep|2x02}} |
| episode={{ep|2x01}} or {{ep|2x02}} |
||
| characters=[[Sun]] & [[Claire]] |
| characters=[[Sun]] & [[Claire]] |
||
| − | | featured=Best Buy Bonus DVD and Season 2 Blu |
+ | | featured=[[Lost: The Complete Second Season (DVD)|Best Buy Bonus DVD and Season 2 Blu-ray]] |
| + | | length=0:38 |
||
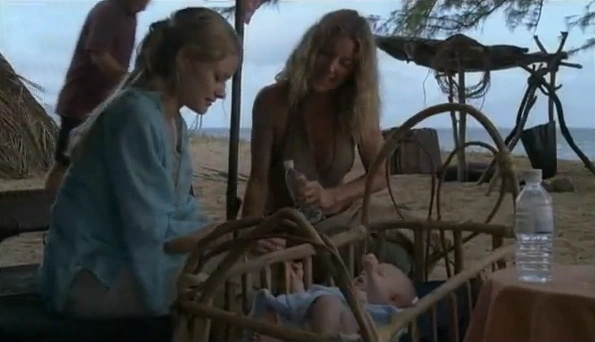
| − | | summary=Claire lets Sun hold Aaron. She asks Sun if she and Jin ever talked about having kids. Sun cuts her off with a definite "No |
+ | | summary=Claire lets Sun hold Aaron. She asks Sun if she and Jin ever talked about having kids. Sun cuts her off with a definite "No." |
}} |
}} |
||
| Line 45: | Line 44: | ||
| episode={{ep|2x04}} |
| episode={{ep|2x04}} |
||
| characters=[[Charlie]] & [[Claire]] |
| characters=[[Charlie]] & [[Claire]] |
||
| − | | featured=Season 2 DVD and Blu |
+ | | featured=[[Lost: The Complete Second Season (DVD)|Season 2 DVD and Blu-ray]] |
| + | | length=1:35 |
||
| − | | summary=Charlie tries to wake Locke up from sleeping in his hammock, to get answers about the Hatch. Claire tells him not to, and then Charlie offers to look after Aaron aka Turnip Head so Claire can have some "you time", but his real motive is to wake Locke up. He claims Jack, Kate, Sayid and Hurley are "out", but then Claire points to Hurley by the sea. It ends in Charlie shouting "Hey!" to Hurley. The scene continues in the episode when Charlie asks Hurley about what's inside the Hatch |
+ | | summary=Charlie tries to wake Locke up from sleeping in his hammock, to get answers about the Hatch. Claire tells him not to, and then Charlie offers to look after Aaron aka Turnip Head so Claire can have some "you time", but his real motive is to wake Locke up. He claims Jack, Kate, Sayid and Hurley are "out", but then Claire points to Hurley by the sea. It ends in Charlie shouting "Hey!" to Hurley. The scene continues in the episode when Charlie asks Hurley about what's inside the Hatch. |
}} |
}} |
||
| − | |||
{{Sectionbox Deleted Scene |
{{Sectionbox Deleted Scene |
||
| Line 56: | Line 55: | ||
| episode={{ep|2x04}} |
| episode={{ep|2x04}} |
||
| characters=[[Sawyer]] & [[Libby]] |
| characters=[[Sawyer]] & [[Libby]] |
||
| − | | featured=Season 2 DVD and Blu |
+ | | featured=[[Lost: The Complete Second Season (DVD)|Season 2 DVD and Blu-ray]] |
| + | | length=1:16 |
||
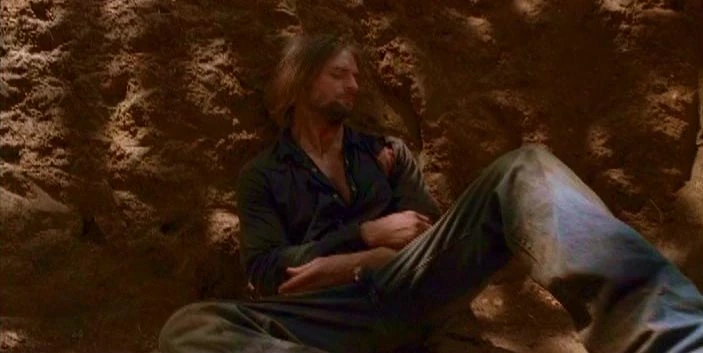
| summary=Libby gives Sawyer water and comforts him, but she refuses to let him out or talk for a long time. She asks him if he was on the plane. |
| summary=Libby gives Sawyer water and comforts him, but she refuses to let him out or talk for a long time. She asks him if he was on the plane. |
||
}} |
}} |
||
| − | |||
{{Sectionbox Deleted Scene |
{{Sectionbox Deleted Scene |
||
| Line 66: | Line 65: | ||
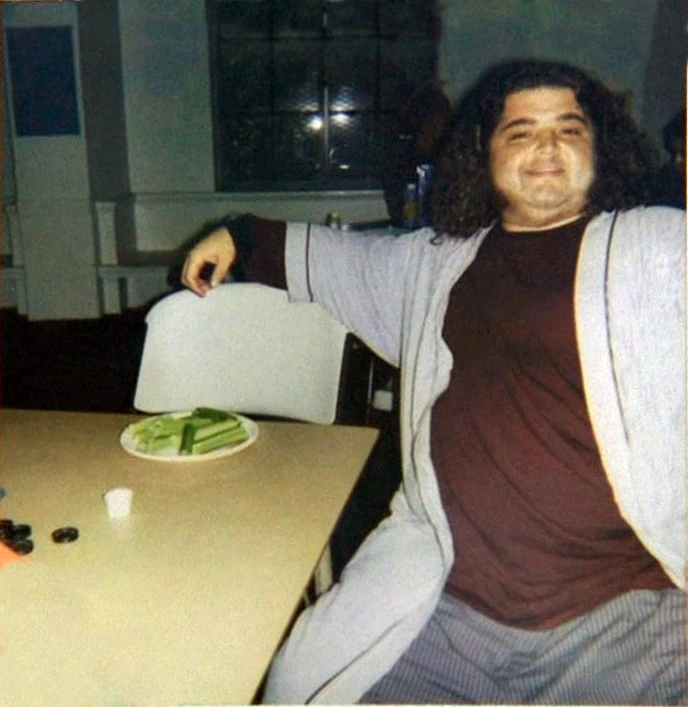
| image=Deleted-DinnerTime.jpg |
| image=Deleted-DinnerTime.jpg |
||
| episode={{ep|2x04}} |
| episode={{ep|2x04}} |
||
| − | | characters=[[Tailies]], [[Sawyer]] |
+ | | characters=[[Tailies]], [[Sawyer]], [[Michael]] & [[Jin]] |
| − | | featured=Season 2 DVD and Blu |
+ | | featured=[[Lost: The Complete Second Season (DVD)|Season 2 DVD and Blu-ray]] |
| + | | length=1:21 |
||
| summary=Ana Lucia hands out pink meat, to the Tailies and the 3 captives, who are cautious, especially Sawyer, who does not want to look vulnerable. |
| summary=Ana Lucia hands out pink meat, to the Tailies and the 3 captives, who are cautious, especially Sawyer, who does not want to look vulnerable. |
||
}} |
}} |
||
| − | |||
{{Sectionbox Deleted Scene |
{{Sectionbox Deleted Scene |
||
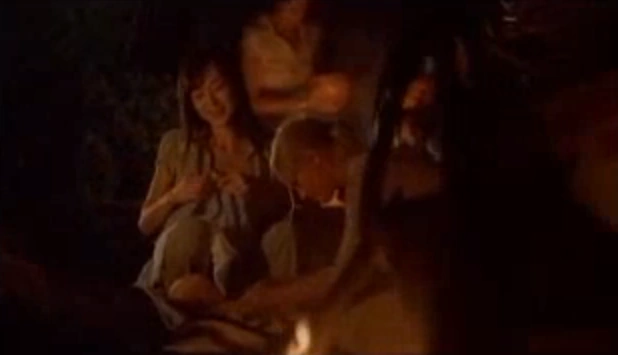
| − | | title=Unnamed Everybody Hates Hugo Deleted Scene |
+ | | title=Unnamed "Everybody Hates Hugo" Deleted Scene |
| s=2 |
| s=2 |
||
| + | | image=Everybody Hates Hugo deleted scene.PNG |
||
| ⚫ | |||
| episode={{ep|2x04}} |
| episode={{ep|2x04}} |
||
| characters=[[Rose]] & [[Hurley]] |
| characters=[[Rose]] & [[Hurley]] |
||
| − | | featured=Best Buy Bonus DVD and Season 2 Blu |
+ | | featured=[[Lost: The Complete Second Season (DVD)|Best Buy Bonus DVD and Season 2 Blu-ray]] |
| + | | length=0:29 |
||
| summary=Hurley walks Rose back to the beach. She tells him not to worry, because it's only a "pantry full of food". As Rose walks off, Hurley stares ahead (possibily an alternate transition into a flashback). |
| summary=Hurley walks Rose back to the beach. She tells him not to worry, because it's only a "pantry full of food". As Rose walks off, Hurley stares ahead (possibily an alternate transition into a flashback). |
||
}} |
}} |
||
| Line 85: | Line 85: | ||
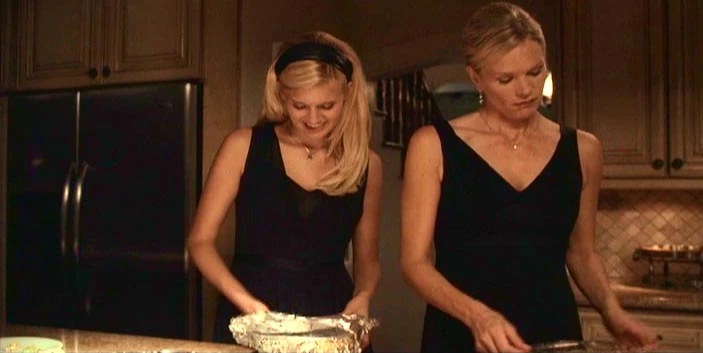
| title=The Wake |
| title=The Wake |
||
| s=2 |
| s=2 |
||
| − | | image= |
+ | | image=LostFlashS2Wake.jpg |
| episode={{ep|2x06}} |
| episode={{ep|2x06}} |
||
| characters=[[Shannon]] & [[Sabrina]] |
| characters=[[Shannon]] & [[Sabrina]] |
||
| − | | featured=Season 2 DVD |
+ | | featured=[[Lost: The Complete Second Season (DVD)|Season 2 DVD and Blu-ray]] |
| + | | length=1:29 |
||
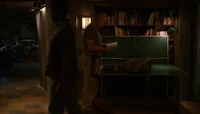
| summary=Shannon and Sabrina Carlyle are having a conversation in the kitchen during the funeral for Adam Rutherford, and they discuss the late Adam Rutherford. Among the topics discussed is beef stroganoff ("Dad loved beef stroganoff"), and the fact that the one thing they have in common is their shared love for him. |
| summary=Shannon and Sabrina Carlyle are having a conversation in the kitchen during the funeral for Adam Rutherford, and they discuss the late Adam Rutherford. Among the topics discussed is beef stroganoff ("Dad loved beef stroganoff"), and the fact that the one thing they have in common is their shared love for him. |
||
}} |
}} |
||
| Line 95: | Line 96: | ||
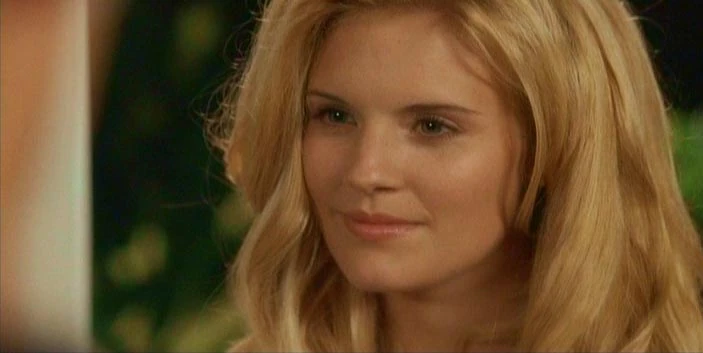
| title=The New Au Pair |
| title=The New Au Pair |
||
| s=2 |
| s=2 |
||
| − | | image= |
+ | | image=LostFlashS2AuPair.jpg |
| episode={{ep|2x06}} |
| episode={{ep|2x06}} |
||
| characters=[[Shannon]] |
| characters=[[Shannon]] |
||
| − | | featured=Season 2 DVD |
+ | | featured=[[Lost: The Complete Second Season (DVD)|Season 2 DVD and Blu-ray]] |
| + | | length=1:08 |
||
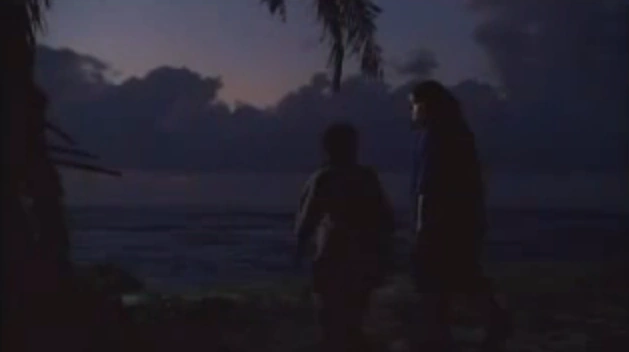
| summary=Shannon meets Philippe for her new Au Pair job looking after his children, Sophie and Laurent. After Philippe makes a sly advance towards Shannon, Philippe introduces his wife, Dominique. |
| summary=Shannon meets Philippe for her new Au Pair job looking after his children, Sophie and Laurent. After Philippe makes a sly advance towards Shannon, Philippe introduces his wife, Dominique. |
||
}} |
}} |
||
| − | |||
{{Sectionbox Deleted Scene |
{{Sectionbox Deleted Scene |
||
| Line 109: | Line 110: | ||
| episode={{ep|2x07}} |
| episode={{ep|2x07}} |
||
| characters=[[Tailies]] |
| characters=[[Tailies]] |
||
| − | | featured=Season 2 DVD |
+ | | featured=[[Lost: The Complete Second Season (DVD)|Season 2 DVD and Blu-ray]] |
| + | | length=0:36 |
||
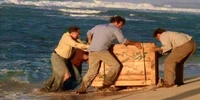
| summary=The Tail Section survivors haul a crate to the shore, with the logo for Melbourne Walkabout Tours stenciled on the crate. They are hopeful it contains food, but it instead contains boomerangs. This scene was shown on ABC after the episode aired, but it included a brief scene showing Emma and Zach telling the Tailies that they found something and then everyone running towards the box. |
| summary=The Tail Section survivors haul a crate to the shore, with the logo for Melbourne Walkabout Tours stenciled on the crate. They are hopeful it contains food, but it instead contains boomerangs. This scene was shown on ABC after the episode aired, but it included a brief scene showing Emma and Zach telling the Tailies that they found something and then everyone running towards the box. |
||
}} |
}} |
||
| − | |||
{{Sectionbox Deleted Scene |
{{Sectionbox Deleted Scene |
||
| Line 120: | Line 121: | ||
| episode={{ep|2x08}} |
| episode={{ep|2x08}} |
||
| characters=[[Libby]] & [[Sayid]] |
| characters=[[Libby]] & [[Sayid]] |
||
| − | | featured=Season 2 DVD |
+ | | featured=[[Lost: The Complete Second Season (DVD)|Season 2 DVD and Blu-ray]] |
| + | | length=1:21 |
||
| − | | summary=Sayid is being held captive by Ana Lucia and Libby tries to talk to him. They exchange names and Libby explains that it was a mistake and deep down Ana Lucia is "a good person. |
+ | | summary=Sayid is being held captive by Ana Lucia and Libby tries to talk to him. They exchange names and Libby explains that it was a mistake and deep down Ana Lucia is "a good person." |
}} |
}} |
||
| Line 130: | Line 132: | ||
| episode={{ep|2x09}} |
| episode={{ep|2x09}} |
||
| characters=[[Sun]] & [[Jin]] |
| characters=[[Sun]] & [[Jin]] |
||
| − | | featured=TV Guide Bonus DVD |
+ | | featured=[[Lost: The Complete Second Season (DVD)|TV Guide Bonus DVD and Season 2 Blu-ray]] |
| + | | length=1:00 |
||
| summary=Sun is giving Sawyer water as he recovers from his gunshot wound. Jin comes to check up on Sawyer, and says that he is too strong and stubborn to die. He then tells Sun that, "It's so good to talk... to be understood (in Korean). |
| summary=Sun is giving Sawyer water as he recovers from his gunshot wound. Jin comes to check up on Sawyer, and says that he is too strong and stubborn to die. He then tells Sun that, "It's so good to talk... to be understood (in Korean). |
||
}} |
}} |
||
| Line 137: | Line 140: | ||
| title=Libby and Claire |
| title=Libby and Claire |
||
| s=2 |
| s=2 |
||
| − | | image= |
+ | | image=Libby and Claire.PNG |
| episode={{ep|2x09}} or {{ep|2x10}} |
| episode={{ep|2x09}} or {{ep|2x10}} |
||
| characters=[[Libby]] & [[Claire]] |
| characters=[[Libby]] & [[Claire]] |
||
| − | | featured= |
+ | | featured=[[Lost: The Complete Second Season (DVD)|Season 2 DVD and Blu-ray]] |
| + | | length=1:09 |
||
| summary=Claire and Libby start talking, and it is revealed Claire is wearing Libby's shirt. Claire is shocked, and Libby tells her to keep it, and they laugh. The idea of this scene may have been taken for a brief scene between Kate and Alex in "The Glass Ballerina" in which Alex remarks that Kate is wearing her dress. |
| summary=Claire and Libby start talking, and it is revealed Claire is wearing Libby's shirt. Claire is shocked, and Libby tells her to keep it, and they laugh. The idea of this scene may have been taken for a brief scene between Kate and Alex in "The Glass Ballerina" in which Alex remarks that Kate is wearing her dress. |
||
}} |
}} |
||
| Line 147: | Line 151: | ||
| title=Scissors |
| title=Scissors |
||
| s=2 |
| s=2 |
||
| − | | image= |
+ | | image=Scissors.PNG |
| episode={{ep|2x10}} |
| episode={{ep|2x10}} |
||
| characters=[[Kate]] & [[Jack]] |
| characters=[[Kate]] & [[Jack]] |
||
| − | | featured=Best Buy Bonus DVD |
+ | | featured=[[Lost: The Complete Second Season (DVD)|Best Buy Bonus DVD and Season 2 Blu-ray]] |
| + | | length=0:39 |
||
| summary=Jack runs into Kate while she gets the scissors to cut Sawyer's hair. |
| summary=Jack runs into Kate while she gets the scissors to cut Sawyer's hair. |
||
}} |
}} |
||
| Line 157: | Line 162: | ||
| title=I Need To Know |
| title=I Need To Know |
||
| s=2 |
| s=2 |
||
| − | | image= |
+ | | image=I Need To Know.PNG |
| episode={{ep|2x10}} |
| episode={{ep|2x10}} |
||
| characters=[[Claire]] & [[Sayid]] |
| characters=[[Claire]] & [[Sayid]] |
||
| − | | featured=Best Buy Bonus DVD |
+ | | featured=[[Lost: The Complete Second Season (DVD)|Best Buy Bonus DVD and Season 2 Blu-ray]] |
| + | | length=1:13 |
||
| summary=Claire and Sayid are at the beach, and Claire asks Sayid if Charlie knew there were drugs in the Virgin Mary statues. |
| summary=Claire and Sayid are at the beach, and Claire asks Sayid if Charlie knew there were drugs in the Virgin Mary statues. |
||
}} |
}} |
||
| Line 167: | Line 173: | ||
| title=Connected |
| title=Connected |
||
| s=2 |
| s=2 |
||
| − | | image= |
+ | | image=Connected.PNG |
| episode={{ep|2x10}} |
| episode={{ep|2x10}} |
||
| characters=[[Michael]] & [[Locke]] |
| characters=[[Michael]] & [[Locke]] |
||
| − | | featured= |
+ | | featured=[[Lost: The Complete Second Season (DVD)|Season 2 DVD and Blu-ray]] |
| + | | length=1:15 |
||
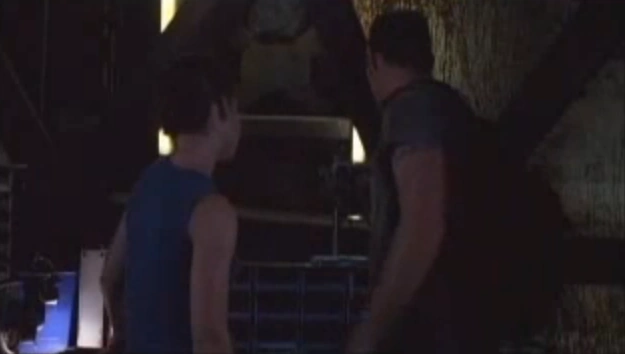
| summary=Michael comes into the Hatch to do "Button Duty", replacing Kate's shift. Michael asks Locke about the station and computer, curious why there is so much equipment for entering numbers. Locke reminds him he can only put the Numbers into the computer, offers to stay and "play ping pong" but then leaves. Michael looks at the computer. |
| summary=Michael comes into the Hatch to do "Button Duty", replacing Kate's shift. Michael asks Locke about the station and computer, curious why there is so much equipment for entering numbers. Locke reminds him he can only put the Numbers into the computer, offers to stay and "play ping pong" but then leaves. Michael looks at the computer. |
||
}} |
}} |
||
| + | {{Sectionbox Deleted Scene |
||
| + | | title=The Saw |
||
| + | | s=2 |
||
| ⚫ | |||
| + | | episode={{ep|2x12}} |
||
| + | | characters=[[Eko]] & [[Locke]] |
||
| + | | featured=[[Lost: The Complete Second Season (DVD)|TV Guide Bonus DVD & Season 2 Blu-ray]] |
||
| + | | length=0:28 |
||
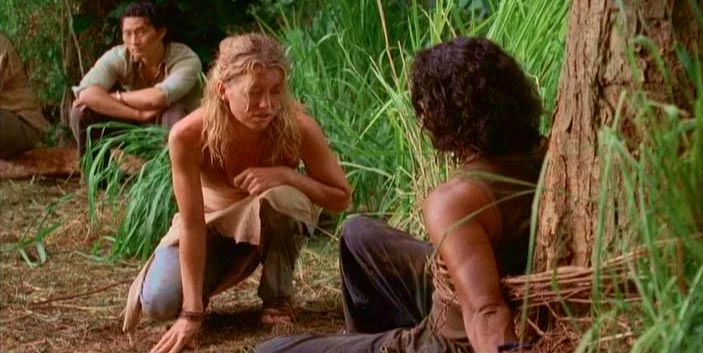
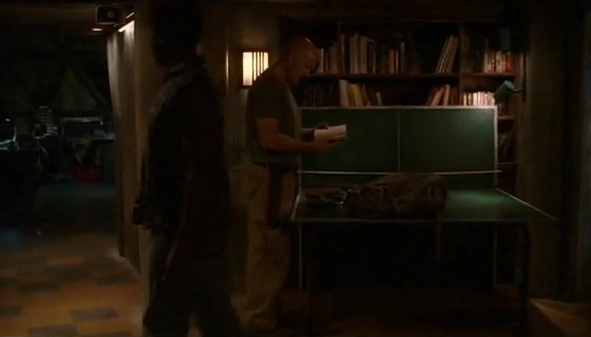
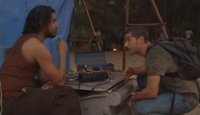
| + | | summary=Locke is giving Mr. Eko a saw from the Hatch, and asks what he is doing with it. This becomes a tense discussion as Eko calmly but coldly refused to tell him, and insults him. |
||
| + | }} |
||
| + | |||
| + | {{Sectionbox Deleted Scene |
||
| + | | title=The Doctor's Solution |
||
| + | | s=2 |
||
| + | | image=The Doctor's Solution.PNG |
||
| + | | episode={{ep|2x12}} |
||
| + | | characters=[[Eko]] & [[Ana Lucia]] |
||
| + | | featured=[[Lost: The Complete Second Season (DVD)|Season 2 DVD and Blu-ray]] |
||
| + | | length=1:28 |
||
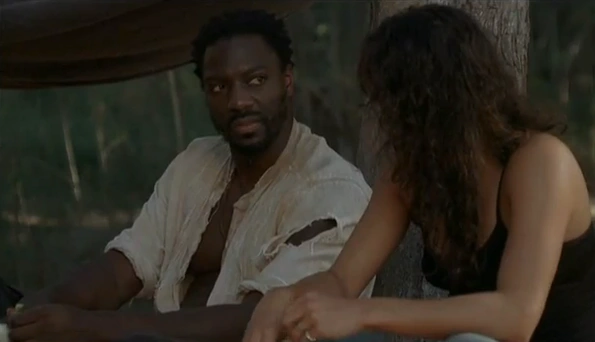
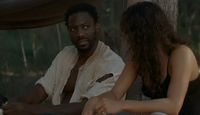
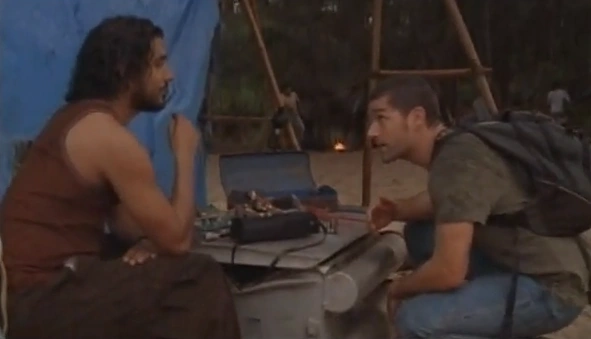
| + | | summary=Mr. Eko is drawing on bark with a stone. Ana Lucia arrives and suggests borrowing a pen for it. Mr. Eko does not want this, and then does not agree with Jack's plan to attack the Others. Mr. Eko believes they may be safe here, and then Ana Lucia asks where the man who killed two of them is. Mr. Eko coldly replies, "He is right here, sitting beside a tree, talking to you." |
||
| + | }} |
||
| + | |||
| + | {{Sectionbox Deleted Scene |
||
| + | | title=What's Your Story? |
||
| + | | s=2 |
||
| + | | image=What's Your Story.PNG |
||
| + | | episode={{ep|2x12}} |
||
| + | | characters=[[Hurley]] & [[Libby]] |
||
| + | | featured=[[Lost: The Complete Second Season (DVD)|Season 2 DVD and Blu-ray]] |
||
| + | | length=2:27 |
||
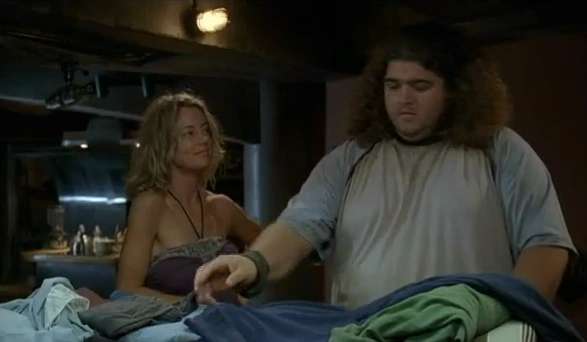
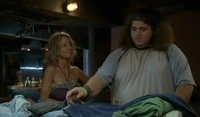
| + | | summary=Hurley and Libby are washing/drying clothes in the Swan and Hurley finds some of Libby's underwear in his, and holds on his finger, saying "Oh, erm, I think these are yours." Libby asks if he is sure they are not his, and Hurley laughs but is slightly put out. Hurley then talks to Libby, who reveals she is a shrink specialising in marriage and family relationships. She reveals, including annulments, she has had three marriages but now "knows what not to do." She then asks what Hurley's story is, and he tells her he won the lottery, and is pleased she believes him. Hurley then asks Libby out on a walk, who agrees on the condition he does not stand on her foot- a reference to before the flight. |
||
| + | }} |
||
| + | |||
| + | {{Sectionbox Deleted Scene |
||
| + | | title=Locke's Father |
||
| + | | s=2 |
||
| + | | image=LostFlashS2LockesFather.jpg |
||
| + | | episode={{ep|2x17}} |
||
| + | | characters=[[Locke]] & [[Helen]] |
||
| + | | featured=[[Lost: The Complete Second Season (DVD)|Season 2 DVD and Blu-ray]] |
||
| + | | length=0:49 |
||
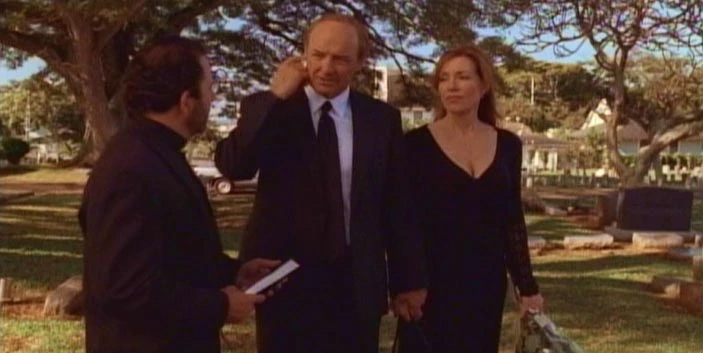
| + | | summary=Locke and Helen are meeting with the priest organizing Anthony Cooper's "funeral", discussing Anthony. Locke admits he didn't know his father incredibly well. |
||
| + | }} |
||
| + | |||
| + | {{Sectionbox Deleted Scene |
||
| + | | title=Weakness |
||
| + | | s=2 |
||
| + | | image=Weakness.PNG |
||
| + | | episode={{ep|2x19}} |
||
| + | | characters=[[Sayid]] & [[Jack]] |
||
| + | | featured=[[Lost: The Complete Second Season (DVD)|Season 2 DVD and Blu-ray]] |
||
| + | | length=0:37 |
||
| + | | summary=Jack and Sayid argue about Jack's idea to trade Henry for Walt. Sayid disagrees with this, saying Henry knows too much about them (himself, Jack and Locke) and that he knows that they cannot agree on anything, and that is their weakness. |
||
| + | }} |
||
| + | |||
| + | {{Sectionbox Deleted Scene |
||
| + | | title=Are You All Right? |
||
| + | | s=2 |
||
| + | | image= |
||
| + | | episode={{ep|2x19}} |
||
| + | | characters=[[Sun]] & [[Rose]] |
||
| + | | featured=[[Lost: The Complete Second Season (DVD)|Season 2 DVD and Blu-ray]] |
||
| + | | length=2:04 |
||
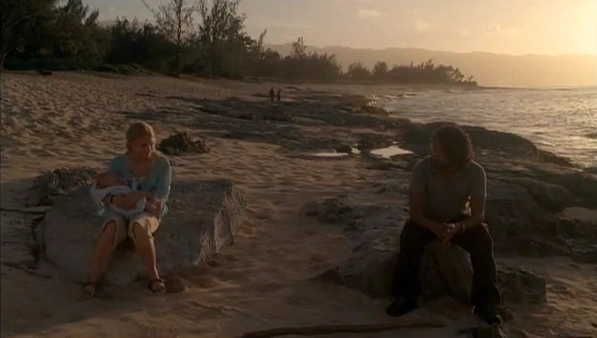
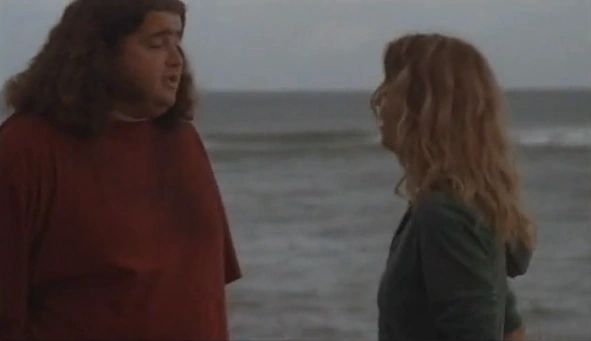
| + | | summary=Sun asks Rose if she is all right, after the earlier argument between Rose and Bernard. Sun asks if Rose has any children as Rose reveals she has a daughter, who has passed. |
||
| + | }} |
||
| + | |||
| + | {{Sectionbox Deleted Scene |
||
| + | | title=I Miss... |
||
| + | | s=2 |
||
| + | | image=I Miss.PNG |
||
| + | | episode={{ep|2x20}} |
||
| + | | characters=[[Libby]] & [[Hurley]] |
||
| + | | featured=[[Lost: The Complete Second Season (DVD)|Season 2 DVD and Blu-ray]] |
||
| + | | length=0:45 |
||
| + | | summary=Hurley and Libby exercise, listing what they miss. Suddenly she tells Hurley that she'll be back and leaves. The scene continues in the episode as Libby talks to Ana Lucia and she tells her that Henry tried to kill her. |
||
| + | }} |
||
| + | |||
| + | {{Sectionbox Deleted Scene |
||
| + | | title=Unseen Deleted Scene from "?" |
||
| + | | s=2 |
||
| + | | image= |
||
| + | | episode={{ep|2x21}} |
||
| + | | characters=[[Eko]] & [[Richard Malkin]] |
||
| + | | featured=[[Lost: The Complete Second Season (DVD)|Season 2 DVD and Blu-ray]] |
||
| + | | length= |
||
| + | | summary=There is a previously unseen clip in the Season 2 DVD Lost Connections from Eko to Richard Malkin. Malkin tells Eko that he was paid $16,000 by a couple in Los Angeles to convince a pregnant girl to board a plane. |
||
| + | }} |
||
| + | |||
| + | {{brclear}} |
||
{{Nav-Deleted}} |
{{Nav-Deleted}} |
||
| + | [[Category:Deleted scenes]] |
||
| + | [[Category:Season 2]] |
||
| + | [[Category:DVD]] |
||
| + | [[Category:Blu-ray]] |
||
Latest revision as of 21:48, 1 March 2011
|
This article is in need of images Picture(s) required: Image for the deleted scenes: Giving Care, The Saw, Are You All Right? and Unseen Deleted Scene from "?". You can upload images here, and add them to the article by clicking here. |
|
| DEUTEROCANON This article/section contains information officially created to be part of the Lost mythos but ultimately rejected. It may be endorsed by ABC, or feature cast members. |
DVD releases included several deleted scenes from Season Two of Lost.
Seeing Walt |
||||||
|
 |
Kate's Choice |
||||||
|
  |
Good With Kids |
||||||
|
  |
A Little You Time |
||||||
|
  |
Sawyer's Visitor |
||||||
|
  |
Dinner Time |
||||||
|
  |
Unnamed "Everybody Hates Hugo" Deleted Scene |
||||||
|
  |
The Wake |
||||||
|
  |
The New Au Pair |
||||||
|
  |
Special Delivery |
||||||
|
  |
Ana Lucia's Prisoner |
||||||
|
  |
Giving Care |
||||||
|
Libby and Claire |
||||||
|
  |
Scissors |
||||||
|
  |
I Need To Know |
||||||
|
  |
Connected |
||||||
|
  |
The Saw |
||||||
|
The Doctor's Solution |
||||||
|
  |
What's Your Story? |
||||||
|
  |
Locke's Father |
||||||
|
  |
Weakness |
||||||
|
  |
Are You All Right? |
||||||
|
I Miss... |
||||||
|
  |
Unseen Deleted Scene from "?" |
||||||
|
| ||||||||