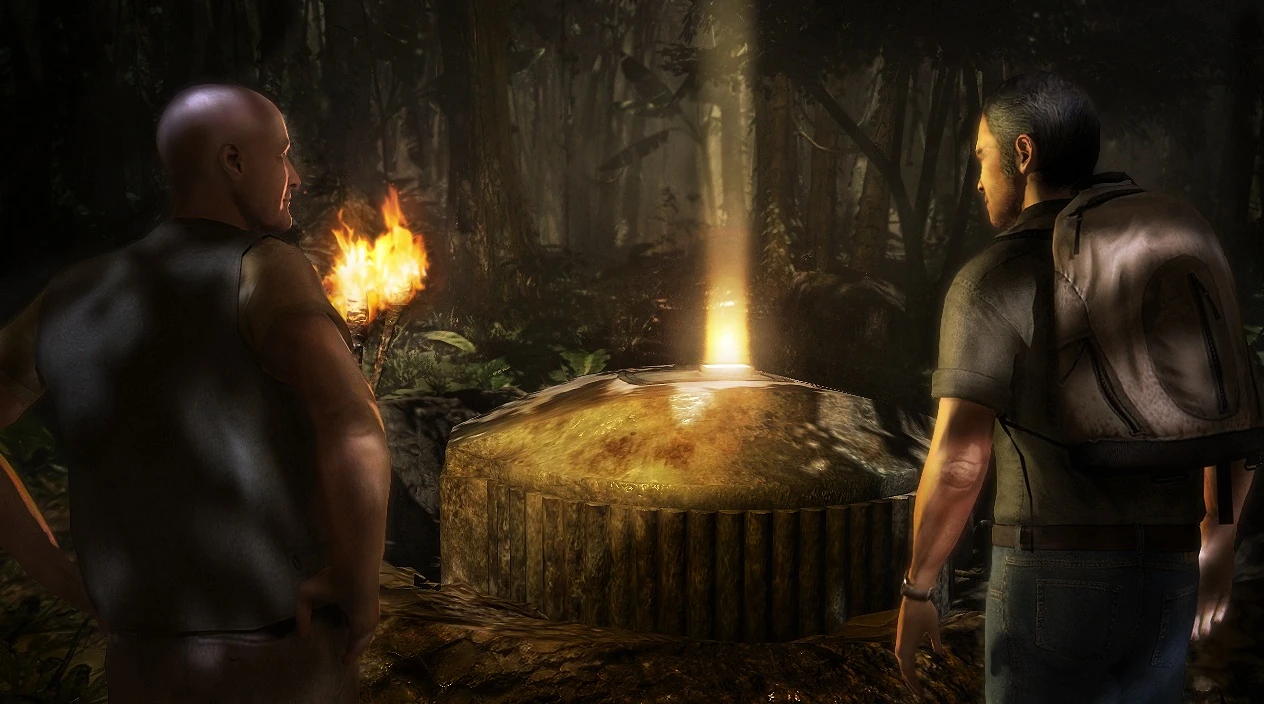
The unopened hatch is seen by Elliott in the third episode of the game. A beam of light can be seen omitting from the window. As Elliott investigates the Hatch, he can photograph the Numbers 4, 8, 15, 16, 23, 42 etched on the side.
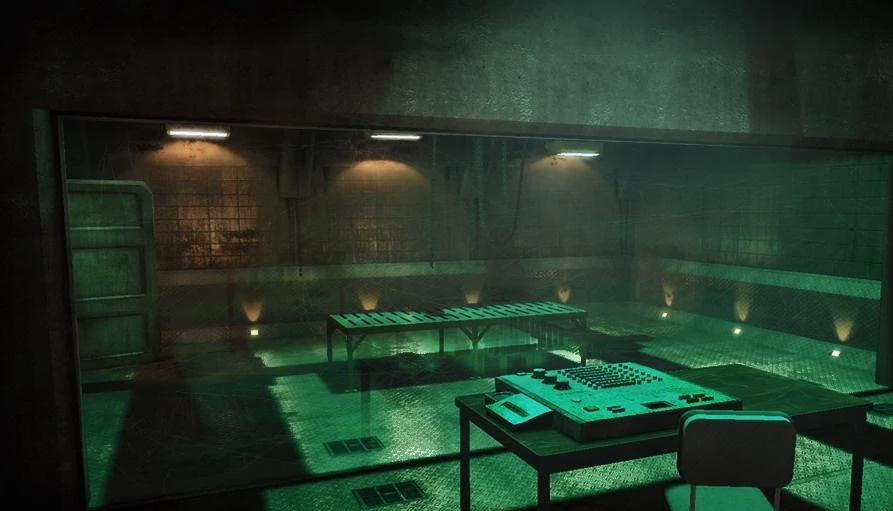
The Swan contains three electrical panels. Fuses must be placed in the correct sequence in order for the lockdown to end. During the lockdown in episode four, Elliott discovers the blast door map and a second map leading to the incident room.
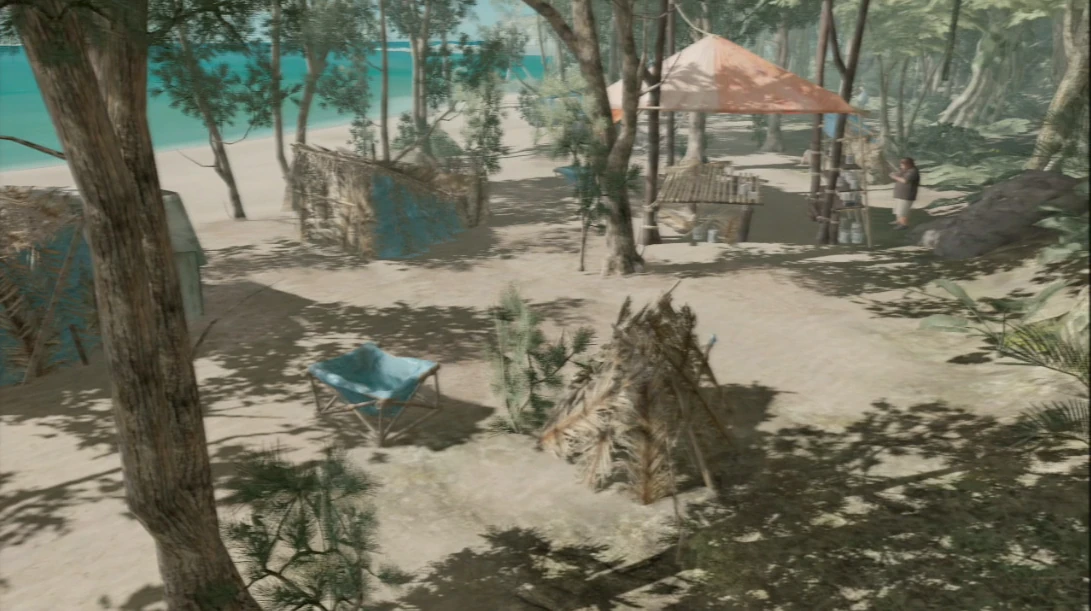
In order to go to the Staff medical station, Elliott must view six different objects at the beach camp (each with one of the Numbers 4, 8, 15, 16, 23, 42) in correct sequence in order to be transported to the Staff. Two Apollo bars can be found: one in the nursery, and one in the operating room.
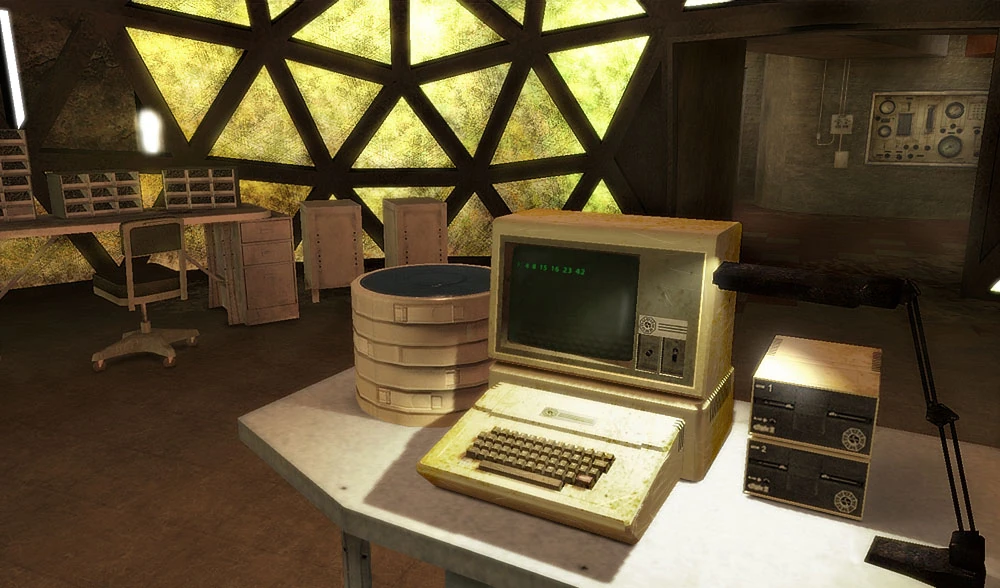
Across from the main entrance to the Swan Elliott finds a hidden room. Inside of this room is a huge magnetic reactor, which has fallen into complete disarray. Elliott can use the computer in the room to disable to reactor.
Across from the main entrance to the Swan Elliott finds a hidden room. Inside of this room is a huge magnetic reactor, which has fallen into complete disarray. Elliott can use the computer in the room to disable to reactor.
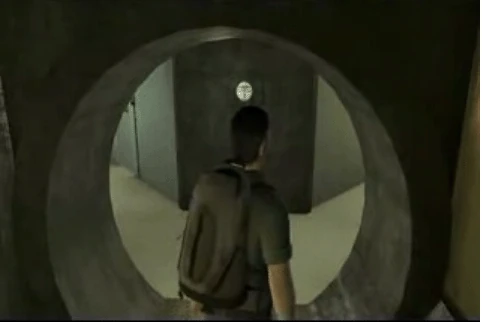
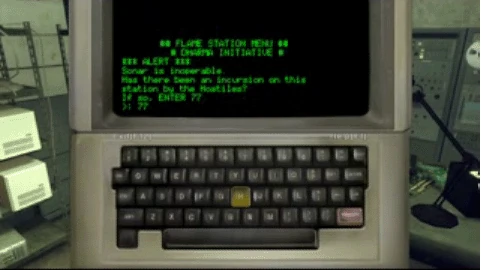
Elliott enters the Flame through a secret back entrance, located across the Sonar fence. The basement of the Flame is dark, so Elliott must have a lantern or torch in order to navigate. In the upper level of the Flame, Elliott encounters Mikhail and Beady Eyes.
Elliott awakes in the same room Jack awakes in "A Tale of Two Cities". Tom is there to greet Elliott, and soon Elliott leaves the aquarium. He travels to the Advisory Room, where Juliet and Ben tell him what he must do for them.
Survivors' locations
Below is a list of survivors' locations as seen in Lost: Via Domus
The beach camp evolves throughout the course of the game. In the first two episodes, the fuselage and wreckage is scattered throughout the camp. By the third episode, the survivors have created tents and water troughs throughout the camp. By episode five, a pantry stocked with DHARMA food is in the camp.
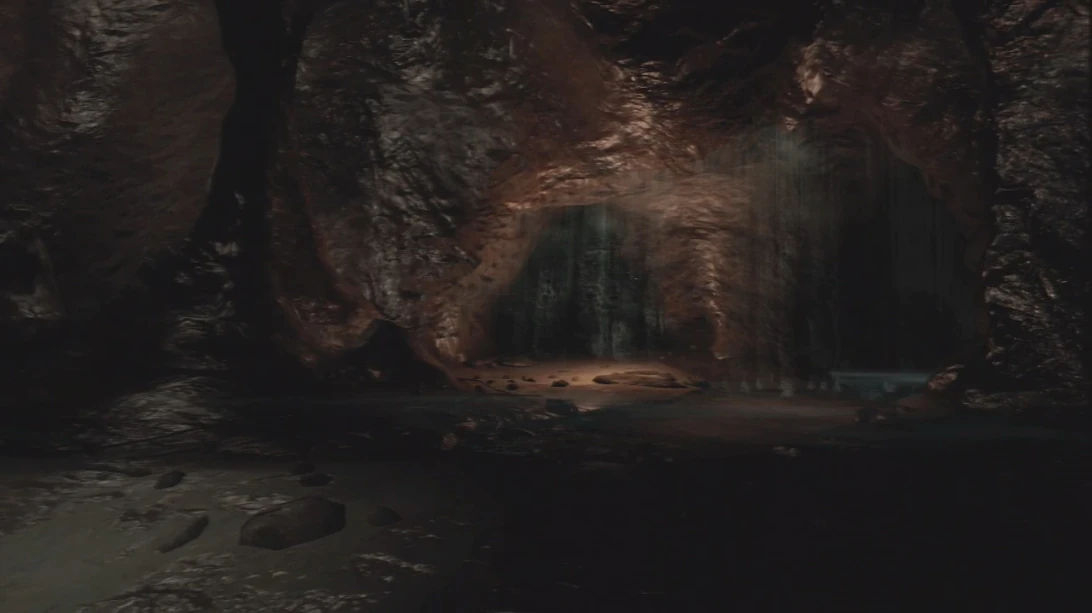
Elliott must navigate through two different caves, in episode two and three. The first cave leads to the front section of the plane. The second cave leads to the compass that has Via Domus inscribed in it.
Misc. Island locations
Below is a list of misc. Island locations in Lost: Via Domus
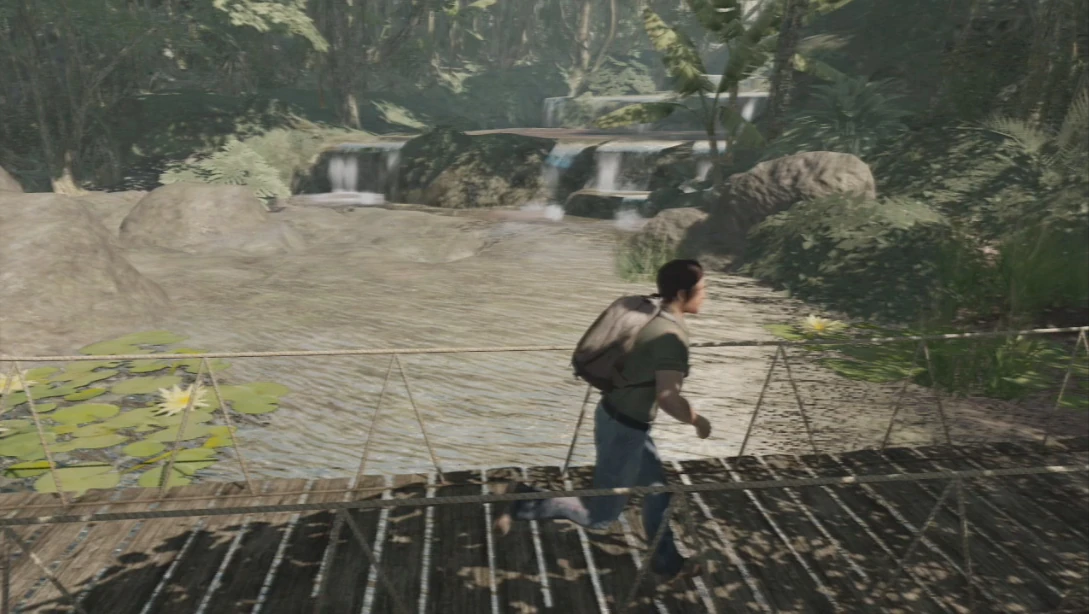
The jungle is full of dangers, especially the Dark Territory. There are many Others patrolling the jungle in lookout points in the trees. They will not hesitate to shoot Elliott if he is in shooting range. The Monster frequently stalks Elliott in the jungle. The banyan trees are a great place to hide from the Monster and the Others.
Elliott ventures to The Black Rock in to retrieve dynamite in order to gain entrance to the Incident Room. He also leads Jack there in episode seven, leading him into a trap set up by the Others.
The Monster is always close by in Dark Territory. There are also many Others stationed in the trees and shooting Elliott on sight. The banyan trees are a great place to hide from either the Monster or the Others.
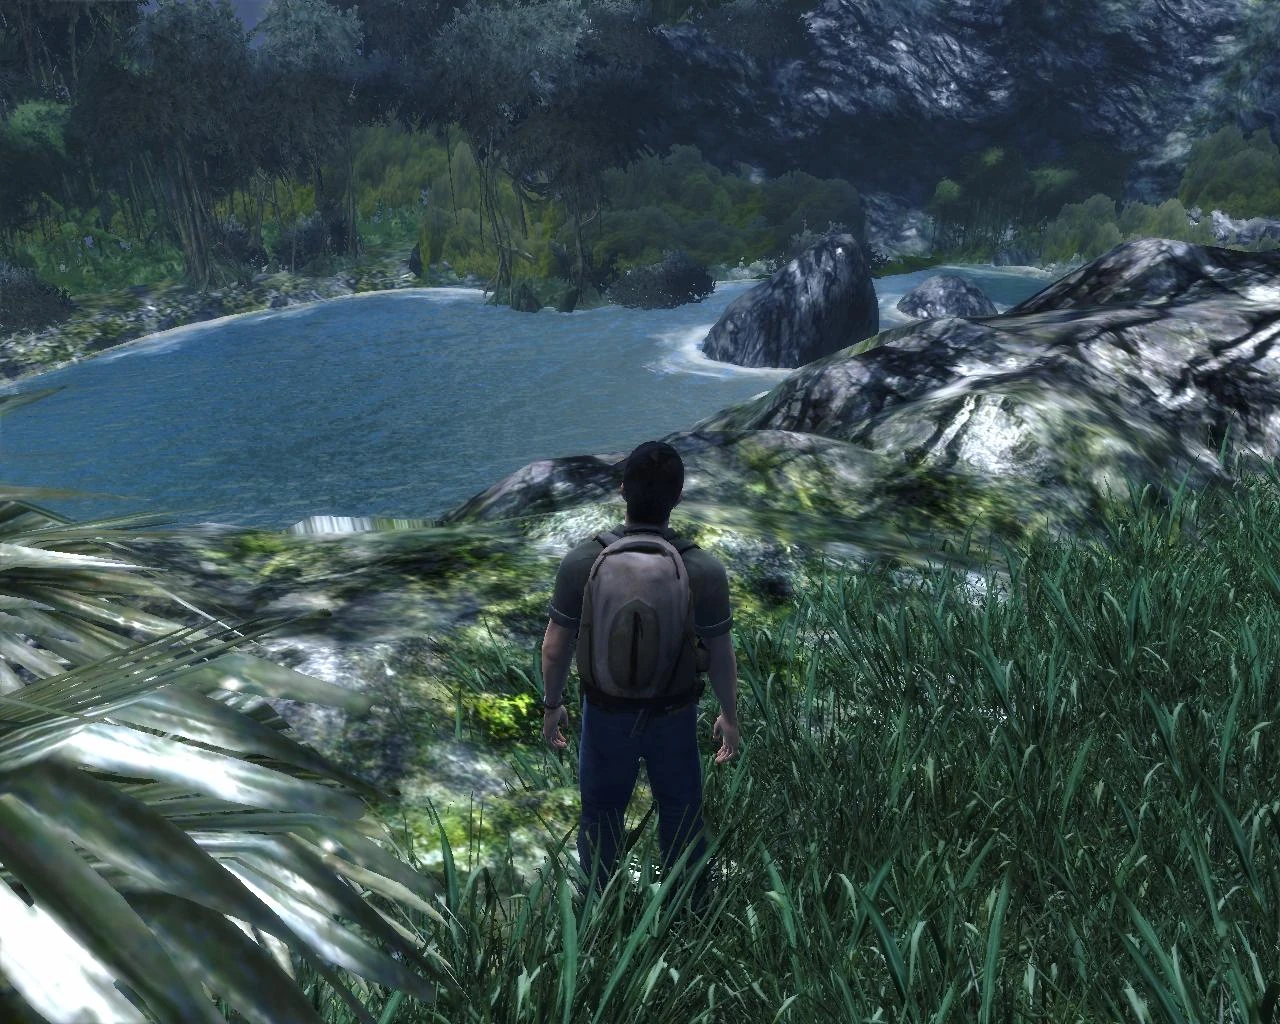
Elliott flees the Monster and ends up trapped between it and the sonar fence. After the Monster scans Elliott, Juliet interrogates Elliot, then turns off the fence to let him through.
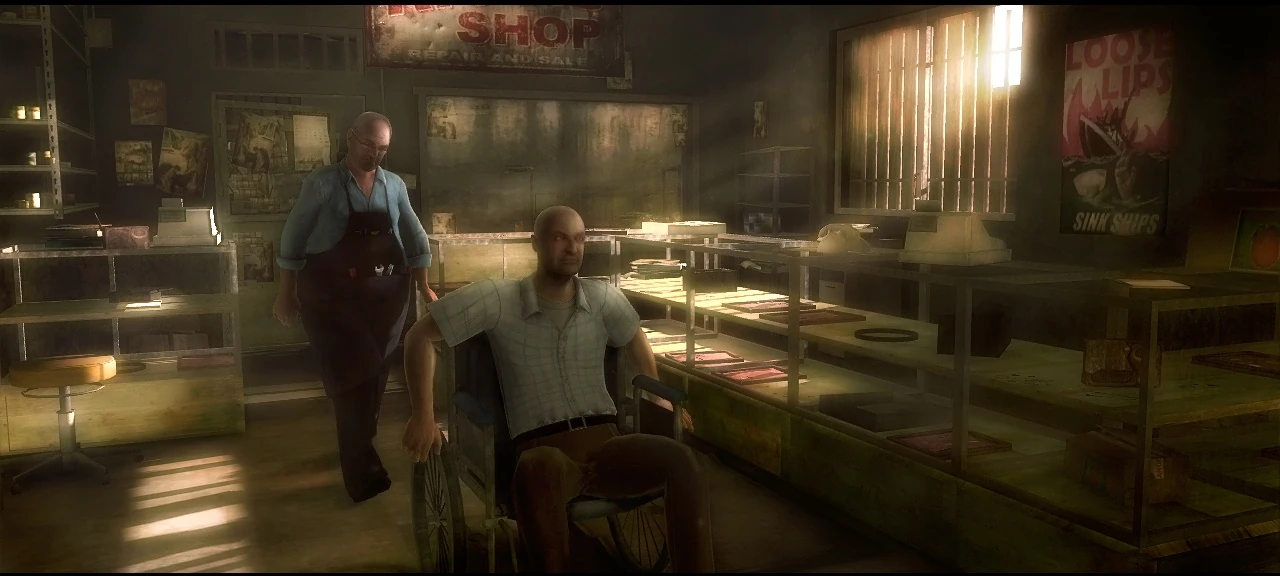
Lisa begs Elliott to help her bring down Savo. After running out of options, Elliott sells Lisa out to a bodyguard and takes an elevator to the room where Mittlewerk and Savo are meeting. Elliott then witnesses a terrible event.