| |||||||||||||||||||||||||||||||||||||||||||||||||||||||||||||||||||||||||||||||||||||||||||||||
"Live Together, Die Alone, Part 1" is the 23rd episode and 2 hour finale of Season 2 of Lost. Events come to a head as Michael leads his friends across the Island to confront the Others. Meanwhile, Desmond returns to the Island on a sailboat, and he and Locke make a decision to see what happens if the countdown in the Swan goes beyond zero. This episode was also Desmond's first flashback episode.
Synopsis
Flashbacks
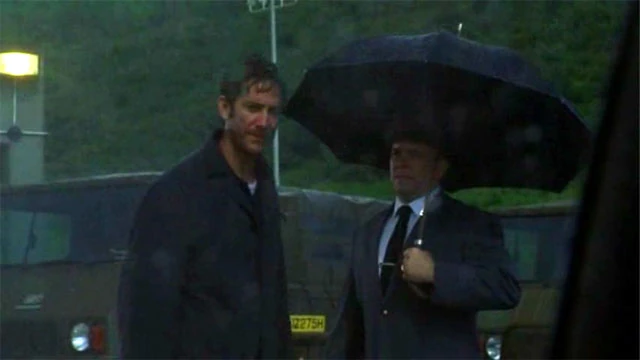
Desmond in front of the prison
Desmond was incarcerated in a military prison and was dishonorably discharged from the British military upon his release. At this time, his possessions are also returned to him, among them a copy of Charles Dickens’ Our Mutual Friend as well as a photograph of him and another woman, previously seen in "Orientation". Immediately afterward, he is met by a mysterious man in a limousine, who is revealed to be Charles Widmore, the father of Desmond's estranged girlfriend, Penelope. Widmore reveals that he had intercepted all of Desmond's letters to Penelope and that she was soon to be married to another man, and offers Desmond a large sum of money to stay away from her: "No contact. No calls. No post." He also suggested that Desmond would agree to the deal, therefore running away, because he had been incarcerated for cowardice.
At some point during 2001, Desmond arrives in the United States, and meets a stranger in line, Libby, at a coffee shop, who had offered to pay for his purchase when he realized that he had no American currency.
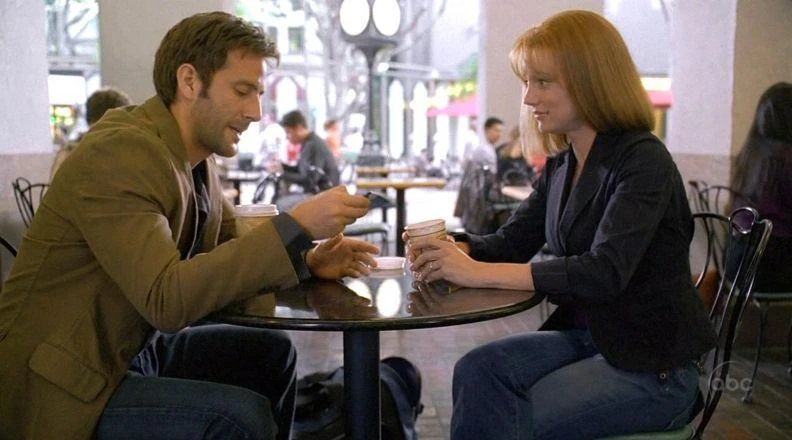
He tells her that he needs money to obtain a boat to win back his honor in a race around the world sponsored by Charles Widmore. He wants to beat him to his own race, and then win back the love of Widmore's daughter, Penelope. Desmond adds that he needs the money as he has no boat. Libby reveals that she has a boat. It was her husband's but he got sick. He wanted to sail to the Mediterranean but wasn't able to: he died a month ago. Libby wants Desmond to have the boat, and when Desmond asks about her husband's name, she tells him it was David. The boat was named after her, the Elizabeth. Desmond thanks Elizabeth, and gratefully accepts. He says he "shall win this race for love".
Later in Los Angeles, Desmond is preparing to run the steps of a sports stadium, a tour de stade, where Jack, a stranger, arrives to do the same. Penelope then suddenly arrives, having tracked down Desmond, and proceeds to confront him for the first time since his release from prison. She also asks Desmond if he has read the book Our Mutual Friend, to which he replies in the negative. Penelope asks him why he hasn't written anys letter to her but Desmond does not answer. She reveals she hasn't yet set a date for her marriage. Desmond tells her he will be back in a year but Penelope wants him back "right now". Penelope then asks what he is running from. He evades the question, answering that he has to win the race sponsored by her father to regain his honor, that is what he is running to.
During the boat race, Desmond is caught in a heavy storm. He goes into his cabin, puts his book in a plastic bag for protection, and takes it with him. He is knocked unconscious. He later washes up on a shoreline, where he is barely aware, when a man in a yellow HAZMAT suit collects him from the beach and brings him inside the Swan Station. Kelvin aks Desmond if he is "him". He asks Des the Snowman joke but Desmond does not understand. The man reveals himself to be named Kelvin Inman. Des asks about his boat but Kelvin says that no boat was to be found. A beeping then starts. Kelvin enters the numbers, and Des asks him what that was for. "Just saving the world," replies Inman. He then enlists Desmond as his Swan Station partner after showing him the Swan Orientation Film. Desmond asks why are they missing parts in the video. Kelvin replies that his old partner Radzinsky has edited the film. Kelvin adds that he is wearing that yellow suit so that he does not get infected. He then shows Desmond a vial of vaccine and an injector, and instructs him to inject himself every 9 days.
After living with him for approximately 2 years, Desmond had seen Kelvin trigger a fake lockdown many times, and one day Desmond hesitantly did it himself under Kelvin's instructions. Kelvin then continued his project of painting the map seen by Locke with detergent. He revealed that his partner, Radzinsky, was the one who figured out how to trigger a fake lockdown, and also had the idea of creating the map. Desmond is getting impatient with the fact that Radzinsky invented everything, yet he does not know what happened to him. Kelvin reveals that Radzinsky had killed himself with a shotgun while Kelvin was asleep, leaving a stain on the ceiling. Kelvin only had 108 minutes to bury him. Desmond then complains that he has not left the Hatch since his arrival, but Kelvin reminds him of the quarantine and the Hostiles. Desmond has not been outside for 2 years and asks if he can go out, saying that he was in the army, but Kelvin once again reminds him that he was kicked out because he couldn't follow orders. Kelvin says he left "his" army because men followed his orders. But then, he joined the DHARMA Initiative. Kelvin adds that Des must follow his orders and stay inside to push the button.
Some time later, Desmond wakes up at the sound of the alarm: only 45 seconds are left and Kelvin is nowhere to be found. He enters the numbers and notices an open entrance to an underground floor. He finds Kelvin drunk under that unknown floor access of the control room, with a key just above a lock marked "Caution: System Termination". Kelvin says that he "couldn't do it". Des is intrigued by the key and the lock. Kelvin explains that this is the only other way out: it is the fail-safe, and behind the wall lays a source of electromagnetism, geologically unique. He also claims that the Incident had been a leak from this source: "So now the charge builds up and every time we push the button it discharges it before it gets too big." Desmond does not understand why a human himself has to push the button every 108 minutes. Kelvin then questions whether Desmond himself would have the courage to release all of the pressure using the failsafe, using an analogy of "blowing a dam".
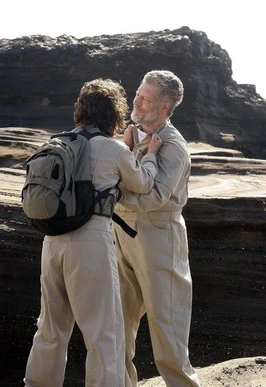
Desmond fighting with Kelvin on the beach at the cove (promotional still)
One day, Desmond notices that the HAZMAT suit has a large tear in it while Kelvin was donning it to go outside. Desmond realizes he had been deceived about the quarantine, a realization that was quickly confirmed after he followed Kelvin outside and saw him remove the suit. As he continued following Kelvin, eventually they arrive at a cove. There, Des saw his sailboat, good as new, at which point Kelvin announces he was aware of Desmond's presence, as he was a spook for 10 years. Desmond confronted Kelvin and became increasingly emotional, while Kelvin resignedly admits he had been going outside to repair Desmond's boat to leave the Island: "Screw the button, man. Who knows if it's even real." Believing he could have left the Island long ago, Desmond becomes enraged and throws himself at Kelvin, accidentally smashing his head against a rock and (likely) killing him. After the shock subsided, Desmond quickly took the fail-safe key from Kelvin and sprints back to the Hatch, where the countdown has already reached zero. The hieroglyphs are locked in on the timer and system failure alarms are in effect. As Desmond struggles to remain calm enough to input the number sequence, the entire hatch visibly shudders, while metallic objects begin flying toward the magnetic wall area. The shaking and alarms ended as Desmond finally enters the full sequence, resetting the timer.
Desmond sits disconsolate and drinking alcohol with a gun at a table in the Hatch, possibly considering suicide. When he opens his book Our Mutual Friend in preparation to read it, he discovers an envelope containing Penelope's letter. The letter had been written before he entered prison. In it, Penelope explains that she has hidden the letter in "the one place you would turn to in a moment of great desperation", which explains why she had asked about the book at their encounter at the stadium. The letter was a message of love and hope in the midst of despair, and ended with, "All we really need to survive is one person who truly loves us. And you have her. I will wait for you. Always." Des mutters and then shouts: "It's all gone." The letter makes him enraged and he begins to throw about the contents of the Hatch. At that moment, he hears the sound of someone else screaming in despair and pounding on a wall; that person is Locke pounding on the Hatch, after Boone's death. Desmond looks up to the Hatch entrance and turns a light onto the Hatch window, placating Locke, and calming Desmond from thoughts of suicide. He smiles in happiness.
Real-time events


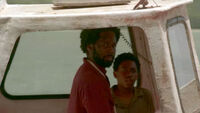
The story continues from the previous episode ended with the arrival of a sailboat during Libby and Ana-Lucia's funeral. Jack, Sawyer and Sayid then swim to the vessel with guns and discover a drunk Desmond inside the cabin. That night, on the beach, he reveals that he had attempted to sail towards Fiji, but mysteriously he had found himself back at the Island. He then adds that "we are stuck in a bloody snow globe! There's no outside world, there's no escape." Desmond finally asks Jack if they are "still pushing it", to which Jack replies with a smile: "yeah, we're still pushing it".
Sayid recounts to Jack his suspicions about Michael and his plan for Walt's rescue. The arrival of Desmond's boat inspires him to ask Jack to use it for a secret flanking maneuver on the Others' camp before Jack and the rescue mission arrive. There, Sayid would make up a fire and black smoke would arise so that "this time, they would know that we are coming."
In the hatch, Locke's crisis of faith continues, and he tries to convince Eko to let the timer run down. John says that Eko doesn't want to be a slave but the latter replies that he is a slave to nothing. Locke then says to not push the button, to what Eko adds: "Do not tell me what I can do". Locke then tries to destroy the computer with the Jesus stick, but Eko stops him. They fight, and Eko locks him out of the the Hatch.


Back at the beach, Jack, Kate, Michael, Sawyer and Hurley prepare themselves for the rescue trek across the island. Kate argues that the Others are not who they say they are, they are not hillbilies, but Michael replies that he knows what he saw. They then leave.
Sayid goes to Desmond to ask for his boat, as he wants to go the other side of the Island quickly. Desmond asks if Sayid is going to see the Hostiles. The latter is unaware of whom Desmond is talking about so he adds that "ignorance is bliss". Desmond then gives the boat to Sayid but refuses to be the pilot for the sailboat.
Sayid then asks Jin, who agrees after consulting beforehand Sun, who insist on accompanying their mission.
On their way across the jungle, Sawyer encounters a doll but Kate prevents him from touching him, saying that he would be caught in a net. Sawyer then talks about his misunderstanding of Jack saying that he and Kate got caught in a net. Kate asks him since when he and Jack started talking about her. Suddenly, the party encounters a large bird much like the one from "Exodus, Part 1", and Hurley believes it squawked his name. Michael tries to shoot it but his gun has no ammo in it. Michael is shocked and Jack says that he "forgot to load that one". Michael is now suspicous.
Charlie discovers Locke weeping in the jungle, and informs him of Desmond's return. Charlie adds that he "pushed the button too many times", referring to the fact that Desmond is always drunk.
On shore, Sayid packs a gun and some ammo on a small boat. Sayid is surprised to see Sun accompanying Jin but Sun says that he needs someone to translate and at least 2 people who know how to sail.
At the beach Claire does the weekly injection to Aaron when Desmond stops her, saying that she is wasting her time. Desmond adds that he shot himself with that every 9 days for 3 years. They then talk about Aaron's dad, who left Claire and the baby alone.
Later that night, Locke asks Desmond what did one snowman say to the other snowman, referring to the question Desmond asked him at the beginning of the season. Des replies "smells like carrots". Locke tells Desmond about the revelations on the button, from the Pearl Orientation Video. That what happens in the Swan is a test, a psychological experiment. Desmond does not believe him, but Locke gives him the Pearl video. Desmond, who also has faith in the Swan computer, becomes curious and together they plan to discover the consequences of not pushing the button next day.

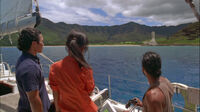
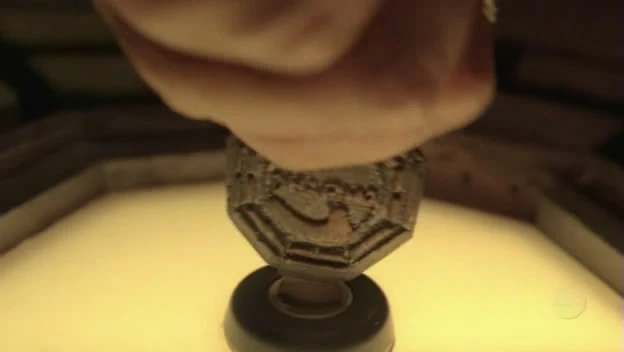
Sayid, Sun and Jin discover the statue
Back in the jungle, the group has made camp for the night. Sawyer offers a DHARMA NutriBar to Hurley, who refuses, stating that he is not hungry. Michael seems to be deeply troubled by what happened earlier with the gun. Jack sneeks up on him, and asks him if he is all right. Jack then helps him getting firewood. Michael thanks him for risking his life for his boy. Jack replies: "Live together, die alone, man."
The next day, on the boat, Sun vomits, but it is not seasickness. Sailing on the ocean, Sayid, Jin and Sun discover the remnants of a giant statue on a shorline: a four-toed foot in a sandal. "I don't know what is more disquieting", says Sayid, "the fact that the rest of the statue is missing, or that it has four toes."
Locke and Desmond trick Eko into leaving the computer room by triggering a false blackout. The electrical buzzing is still strongly present in the Swan corridor. Desmond and Locke rush in the computer room, and lock Eko out with a false lockdown.
Eko leaves and notices the QUARANTINE sign on the Hatch door. He asks Charlie how they blew up the door.
Jack threatens Michael (promotional still)
In the jungle, Sawyer theorizes on who are the Others: DHARMA folks? Aliens? As the group is walking alongside a small river, Kate spots two Others stalking them on the other side. She and Sawyer open fire on them, with Sawyer killing one of them. Michael gets upset at this, whereupon Jack confronts him about his betrayal. Michael is forced to tell the truth, admitting that he had killed Ana-Lucia and Libby, let the false Henry Gale go, and lead the rescue party upon the Others' instructions, in order to free Walt. They gave him a list with their names on it. Hurley wants to go back but Jack then convinces the skeptical party to continue onward, revealing Sayid's plan.
Eko then returns with Charlie to the Hatch, with dynamite. Charlie tries to convince John to open the door, but Desmond is sure that the blast doors will hold.
Charlie begins to think that Locke is right, and tells Eko that maybe it's an old computer connected to nothing. But then Eko takes out Charlie's belt, and throws it in the air, when it is quickly attracted by the magnetic wall. Charlie tries to leave, not before taking his belt off the wall. Eko is forcing his way back in with dynamite, but Charlie has not left yet. He runs through the corridor whilst the dynamite explodes.
The blast isn't successful in opening the door. Desmond wants to open the door to see if they are hurt but Locke says it could be a trick. Desmond asks Locke why he wants to let the countdown go to zero, is it because he has to look down the barrel of a gun and found out who he really is? Locke said he already has done that, and that he believed. He thought it was his destiny to get into this place. Somebody died for this, a kid, because "he was stupid enough to believe that I knew what I was talking about." Locke tells Desmond that on the night that Boone died for nothing, he was sitting up there all alone, yelling at the door, when a light came on. He thought it was a sign but it was probably just Desmond going to the bathroom. But in fact Desmond heard the commotion and turned on the light. In retrospect, Locke now took this supposed omen to be yet another example to doubt his earlier faith, while Desmond realize that Locke had saved his life as he had been considering suicide that night.
Soon afterwards, Sun, Jin and Sayid arrive at the Others' camp. When Sayid climbs up to the camp to investigate, he discovers that all the huts are abandoned, and that the (supposed) DHARMA station was fake, as only a rock wall lay behind the door.
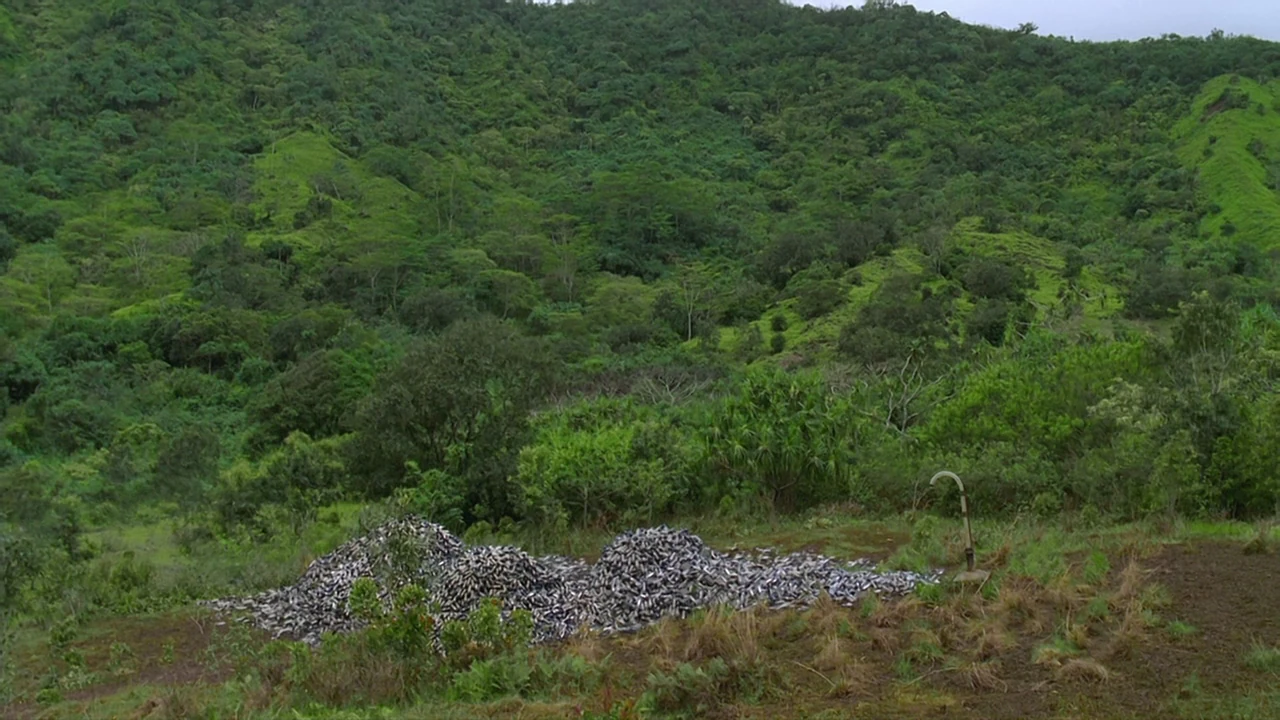

The capsule dump
In the jungle, an enormous mound of pneumatic tube containers, a capsule dump, is discovered by the rescue party (although none of the members knows about the Pearl Station). Sawyer finds amongst the containers Locke's map to the Pearl station. At this location Jack sees Sayid's smoke signal, unexpectedly far away. As he confronts Michael, who was leading them here, the party begins to hear whispers, and they are soon ambushed by the Others who use electrical stun darts, and capture their entire party.
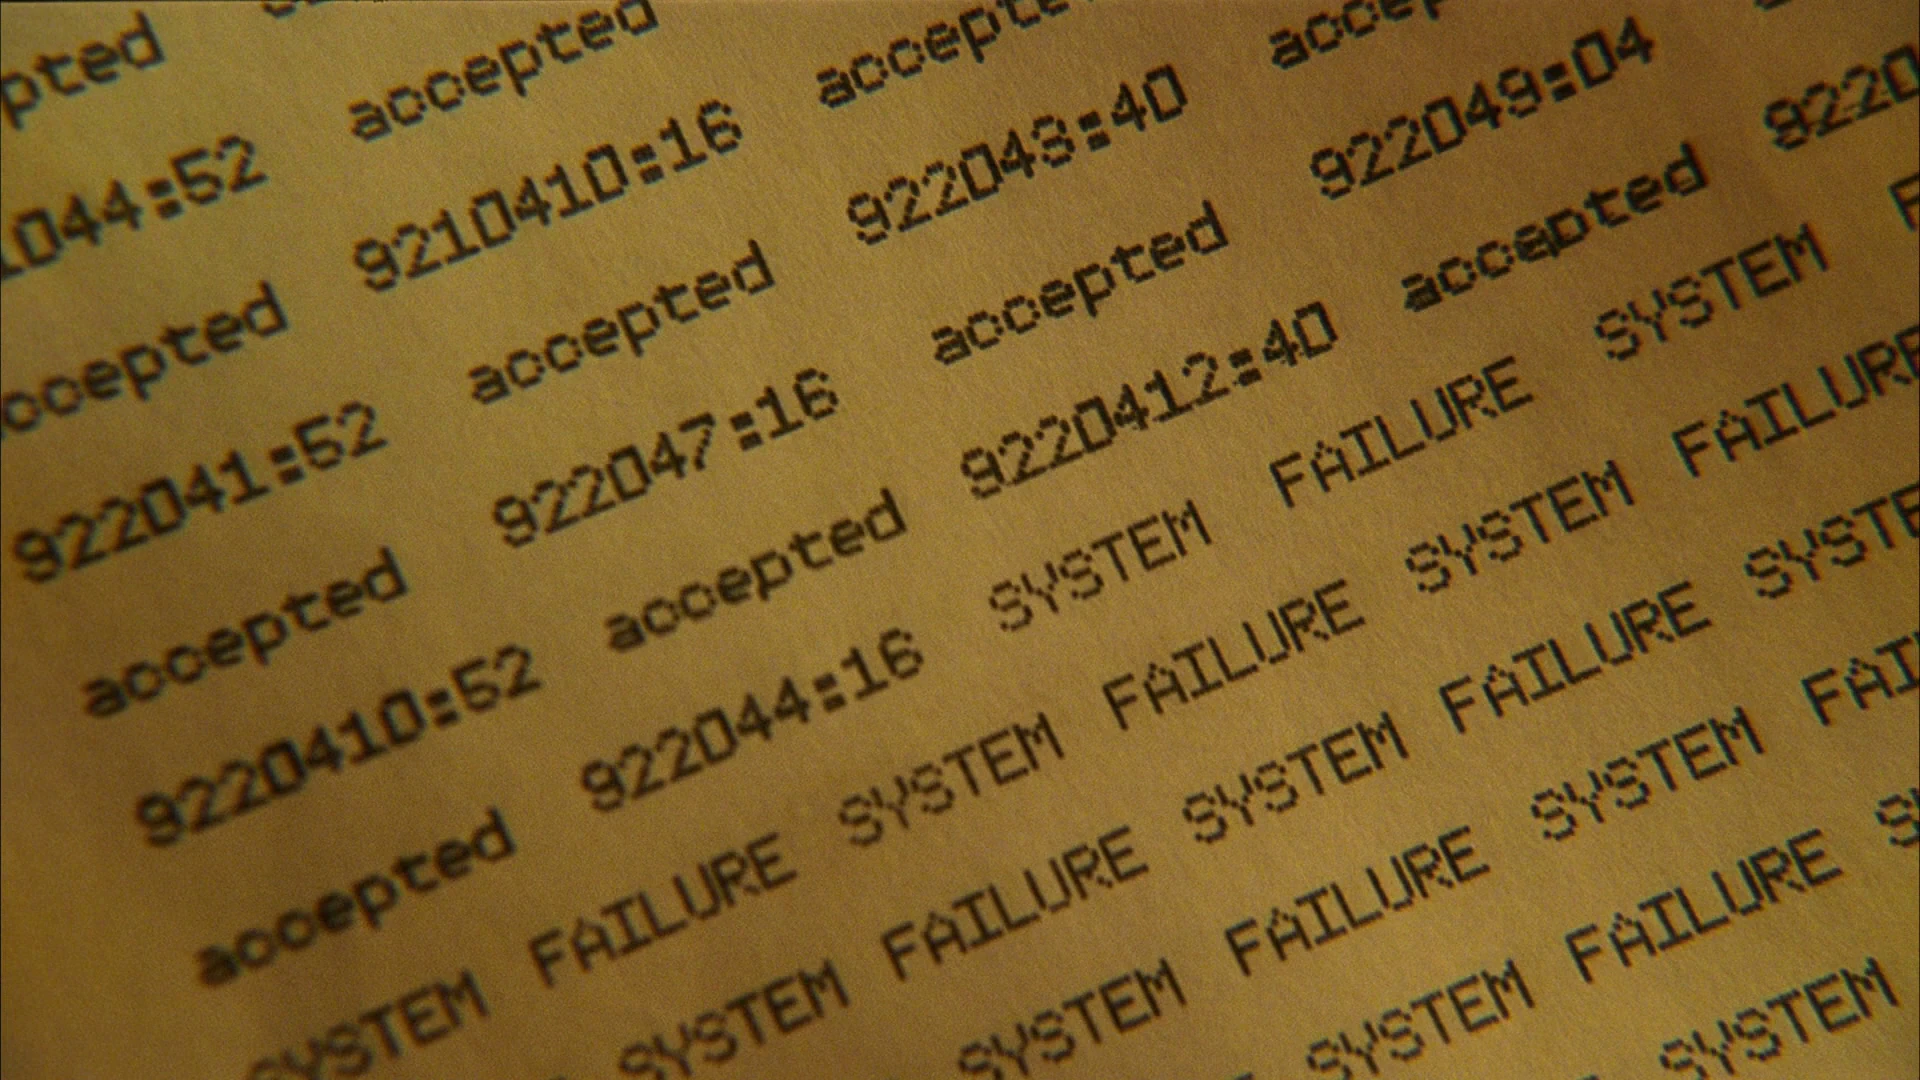
Log printout
Back at the Swan, Desmond asks Locke about the Pearl. Locke tells Desmond all about it: the notebooks, the TVs, the pneumatic tube. But Desmond thinks Locke has got it backwards: it is not them who are being monitored, and in the experiment, but the people at the Pearl station. Desmond wants to see that Pearl video but there is no way to see it in the Swan. Desmond asks Locke what else was down there, perhaps another computer. Locke says that there was a printer that "printed out numbers, lots of numbers". When Locke shows Desmond the log printout from the Pearl, Desmond discovers that the crash date of Oceanic Flight 815, September 22, is connected with the "SYSTEM FAILURE" entry in the log printout. That is the day he had accidentally killed Kelvin and did not enter the Numbers in time, causing a system failure in the Swan. His conclusion is that this event is the cause of Flight 815's crash: "I think I crashed your plane."
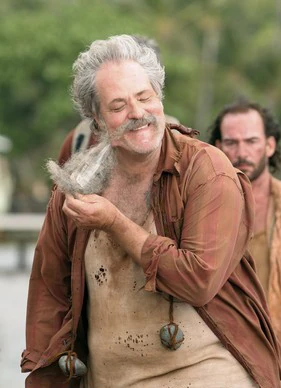

Tom, removing his fake beard (promotional still)
The rescue party is brought by the Others, with Alex present, to a pier with a label "Pala Ferry". Kate tells the boat captain that she knows his beard is fake. Ms. Klugh inadvertently reveals his name as "Tom", and Tom reveals her name as "Bea." The false Henry Gale soon arrives in the boat and is revealed to be an authority figure amongst the Others.


"I was wrong"
Back in the Hatch, Charlie wakes up with ringing in his ears. He finds Eko, unconscious. Locke and Desmond continue to argue whether to push the button or not. As the timer reaches close to zero, their conversation becomes heated, leading Locke to smash the computer. "You've killed us. You've killed us all", says Desmond. Locke replies: "No, I've just saved us all." Desmond then opens the doors and takes out the book he wanted to read before he died: "Our Mutual Friend".
He retrieves the fail-safe key he had hidden in the book. He quickly tells Locke about the banging on the Hatch exterior, and that it was Locke that saved his life, so that he could save his: he is going to blow the dam: "I'll see ya in another life, brother." Meanwhile, the timer reaches zero and flips into hieroglyphs. As the system failure alarm progresses, metallic objects begin to fly across to the magnet wall. Charlie revives Eko from the shock of the dynamite and tries to make his escape while Eko rushes into the control room, where he is met by a despondent Locke acknowledging his cataclysmic mistake, stating simply: "I was wrong". Desmond turns the key, but not before saying one last time: "I love you Penny." He triggers the discharge, resulting in a flash of white and purple/violet glow.

Desmond turning the key
A groaning noise is heard. The flash is visible by characters across the entire island, which is engulfed in a bright white/violet glow lasting nearly a minute that covers the entire sky and by a loud low droning sound, causing everyone to cover their ears in pain. "Henry Gale" is the only person that doesn't seem surprised by the discharge. At the camp, the "QUARANTINE" hatch door falls from the sky, indicating some great blast, and of the Hatch's occupants, only a partially deaf Charlie emerges soon afterwards.
At the dock, Henry Gale closes the deal with Michael. "Henry" is not happy with the arrangement, but they got "more than they bargained for when Walt joined them". Since he has brought the requested people from Flight 815, and lived up to his word, Michael is given the boat, as well as custody of Walt, and instructed to escape the Island by following a bearing of 325 degreesand they will find rescue. Michael is intrigued by how simplistic it is. He asks Henry how he knows he won't tell anyone about the Island. But "Henry" replies that whether or not he tells people won't matter: once he has left the Island, he won't be able to come back. Moreover, "Henry" believes that Michael won't tell anyone, because if he does, people will find out what he did to get his son back. Michael was promised that his friends would not be hurt, and Henry agrees: a deal's a deal. Finally, Michael asks the obvious to "Henry": "Who are you people?" To which, with a big smile on his face, "Henry" replies: "We're the good guys, Michael." As Michael is reunited with his son on the boat, "Henry" adds: "Bon voyage, Michael."
While Michael departs, the Others also free Hurley, with the mission of telling the survivors not to come to this side of the Island. His friends are "coming home with us". Hurley looks at Jack, who, with his eyes, tells him to go. As Michael leaves on the boat, he looks one last time at an angry and betrayed Jack. Kate and Jack look at each other, not knowing what is going to happen to them. The captives, Jack, Kate and Sawyer, are hooded by the Others in preparation for transport.

Later that night, Charlie and Claire are near a fire. Claire asks him what happened "out there". Charlie says that "nothing happened", even though the sky turned purple and Charlie is hurt. Charlie and Claire reconcile, with Claire giving him a small kiss; it is a new beginning for them.
The scene suddenly switches to an unknown location that appears to be in the Arctic/Antarctic. Two Portuguese-speaking men are playing chess when one notices a flashing red light on a computer, and a message on the computer screen reading "7418880 Electromagnetic Anomaly Detected". "How long has it been doing that?" asks one of the men. The other quickly opens a locked book, an instruction manual. "That's it, isn't it? We missed it again--" one says whilst the other quickly says that "We didn't miss it!" An alarm sounds. "So it's not a false alarm this time?!" the man asks, but the other one, agitated, replies: "SHUT UP AND CALL!" One of them, frightened, makes a phone call with a phone that has no button on it: it is only a one-way direct line to someone.

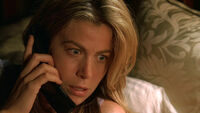
Penelope, phoned by men in the listening station
The phone rings somewhere. It is night and the lights are turned off. The phone is on a bed table, with a photo on it that looks like Desmond's picture.
On the other line is Penelope Widmore, still half asleep.
"Yes?" she asks. The man answers"It's us. I think we found it." Penelope looks stunned by this news: there is still hope.
Trivia
General
- First appearance of Penny Widmore, Charles Widmore, Henrik, Mathias
- This episode was the first flashback episode of someone not on Flight 815, and the second centered around a guest star (the first being Rose/Bernard's story in "S.O.S.").
- An extract, read by Kate, of one of the notebooks reads:
0400. S.R. moves Ping-Pong table again.
0415. Takes a shower.
Production notes
- According to the May 26th Podcast, the crew started writing "Live Together, Die Alone" four weeks prior to its airing. The episode was shot in 17 days with 2 simultaneous crews, and the final scene with Penelope was shot just 5 days before airing.
- International versions of this episode that aired in two parts, including DVD releases, are missing a brief scene right after the opening title sequence where Kate tries to calm down the other survivors and asks Jack for help. Instead, the episode jumps directly from the title screen to Desmond sitting at the camp fire. Also missing from the dvd version are the lines when Kelvin talks to Desmond about him doing a lockdown '1000's' of times before and when Locke talks to Desmond about Jack having no interest in what happens in the hatch.
- This is the last episode in which Malcolm David Kelley, Harold Perrineau, Michelle Rodriguez and Cynthia Watros are credited as regular cast members.
Continuity error
- The photo of Desmond and Penny is quite different from the photo of Desmond and Penny in "Orientation". Most notably Penny is different.
- When Sawyer, Jack and Sayid swim toward Desmond's boat in the beginning of the episode, the boat is seen heading toward the island, although, when they finally reach near the boat there is no island behind them where they came from, just sky and clouds.
Recurring themes


| Recurring themes |
|---|
| Animals • Black and white • Character connections • Children • Coincidence • Death • Deceptions and cons • Dreams • Economics • Electromagnetism • Eyes • Fate versus free will • Games • Good and bad people • Imprisonment • Isolation • Leadership • Life and death • Literary works • Mirrors • Missing body parts • Nicknames • The Numbers • Pairings • Parapsychology • Parent issues • Pregnancies • Psychology • Rain • Redemption • Relationships • Religion • Revenge • Salvation • Secrets |
- The letters that Widmore withheld from Penelope show that the house number of her street address was 23, while Desmond's (the return address) was 42. (The Numbers)
- The coffee Libby paid only costed "4 bucks". (The Numbers)
- Desmond asks for 42,000 dollars. (The Numbers)
- Desmond does not read Our Mutual Friend because he wants to save it for just before his death. It has a secret letter from Penny within it. (Secrets) (Life and Death)
- Hurley sees a large bird that he believes says his name. (Animals)
- Libby and Desmond had a casual meeting years prior to arriving on the island. (Character Connections)
- After meeting years prior, Libby and Desmond end up on the same island, and Libby's old ship appears at the time of her funeral. (Coincidence)
- Locke doesn't believe in fate, but Desmond tries to convince him by saying that John saved his life so he could return the favor. (Fate versus Free Will)
- Ben tells Michael, "We're the good guys." (Good and bad people)
- Kelvin and Desmond were prisoners of The Swan until their replacements arrived to release them. (Imprisonment)
- Libby claims her husband, Dave, had passed away. (Life and Death)
- Charles Widmore tries to bribe Desmond to never see Penny again because he doesn't believe he is worthy. (Parent Issues)
- Desmond decided to race around the world to regain his honor. (Redemption)
- Michael tricks his friends into believing they can defeat the Others, while is really luring them into a trap. (Deceptions and Cons)
- Jack is aware or Michael's intentions and is playing along in order to initiate his own plan. (Deceptions and Cons)
- The survivors see Desmond's boat and think they are saved. (Redemption)
Storyline analysis
| Storyline analysis |
|---|
| A-Missions • Crimes • Economics • Leadership • O-Missions • Relationships • F-Missions • Rivalries • S-Missions |
- Ben shows authority among The Others. (Leadership)
- Desmond won't stay with Penny because he has to regain his honor and promises her he will be back. (Relationship Issues)
Cultural references
| Cultural references (direct references only) |
|---|
| Art • Automobiles • Games • History • Literary works • Movies and TV • Music • Philosophy • Religion and ideologies • Science |
- The Internationale. "We'll live together or we'll die alone" is a line from the English-language version of this famous socialist, anarchist, communist, and social democratic anthem. (Music) (Ideology)
- Our Mutual Friend. Desmond does not read this book by Charles Dickens because he wants to save it for just before his death, since he is such a huge fan of Dickens. (Literary works)
- The Turn of the Screw. Kelvin tells Desmond to put the Orientation film back behind this book by Henry James. (Literary works)
- "Voi che sapete". This song by Wolfgang Amadeus Mozart is heard on the sound system of the Elizabeth. (Music)
- "Chains and Things". This song by B.B. King is heard on the Swan record player. (Music)
- Ardulfurataini Watan (the Land of the Two Rivers), this former Iraqi national anthem is sung by Kelvin. (Music) (Ideology)
- The A-Team. Sawyer quotes B. A. Baracus from this show when he says, "Alright, enough jibber-jabber, let's roll!" The A-Team ran from 1983 through 1989. (Movies and TV)
Literary techniques
| Literary techniques |
|---|
| Comparative: Irony • Juxtaposition • Foreshadowing Plotting: Cliffhanger • Plot twist Stock characters: Archetype • Redshirt • Unseen character Story: Flashbacks • Flash-forwards • Flash sideways • Framing device • Regularly spoken phrases • Symbolism • Unreliable narrator |
- Penelope says that "with enough money and determination, you can find anyone". This is a foreshadowing of the final scene of this episode. (foreshadowing)
Episode references
- The title of the episode was initially a quote from Jack in "White Rabbit", and was later stated by Kate in "Every Man for Himself".
- Desmond discovers that the man in front of him on the boat is Jack and replies "You!", when in the first episode of the season, the same scene is reversed when Jack discovers that the man in front of him is Desmond and then says "You!". ("Man of Science, Man of Faith")
Unanswered questions
| Unanswered questions |
|---|
|
- For fan theories about these unanswered questions, see: Live Together, Die Alone/Theories
- What is the origin of the four toed statue? Where is the rest of it?
- Are Michael and Walt rescued?
- Did Penny really find the island?
- Why could Desmond not sail away from the island?
- Did the Hurley bird really say Hurley's name?
- Why are the pneumatic tube containers from The Pearl dumped in the middle of the jungle?
- What did Desmond really do those few weeks he was gone?
- In Pilot, Part 1, the pilot of the plane tells Jack and Kate that had lost radio contact and flew for 1000 miles (about 2 hours) before the crash. If the system failure at the Swan station caused the plane to crash, what happened that made the plane lose radio contact two hours before the crash? (Pilot, Part 1)
